IntroductionThe moment of lighting a cigar is more than just a practical necessity—it's a ritual that sets the tone for the entire smoking experience. A poorly lit cigar can result in uneven burns, bitter flavors, and wasted tobacco, while a properly lit cigar offers smooth, consistent flavor from start to finish. Whether you're a seasoned aficionado or new to the world of premium cigars, mastering the art of proper ignition is fundamental to your enjoyment. |
|
Understanding Your Cigar's AnatomyBefore striking a flame, it's important to understand what you're lighting. The "foot" of the cigar is the open end that you'll be igniting. Depending on the cigar's construction, this may be completely open, partially covered with a cap (perfecto style), or feature a pig-tail. The exposed tobacco at the foot consists of the filler leaves bundled inside the binder, all wrapped in the delicate outer wrapper leaf. |
|
 |
|
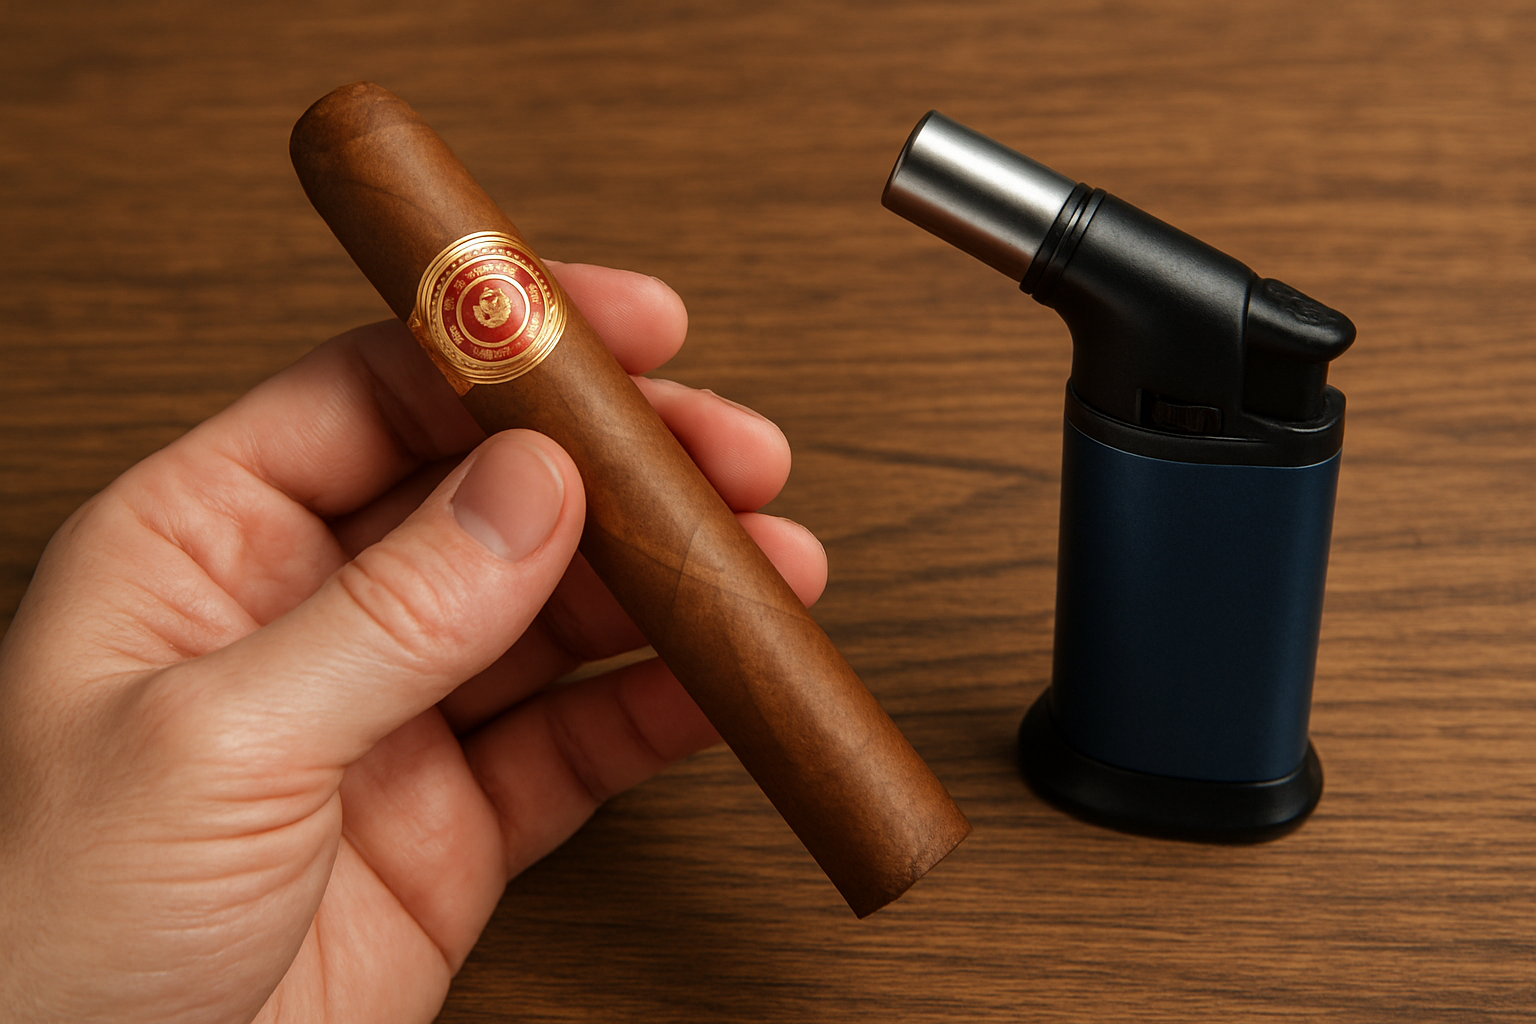
Choosing the Right Lighting ToolYour choice of lighter significantly impacts both the lighting process and the flavor of your cigar. Recommended OptionsButane Torch Lighters: The gold standard for cigar lighting. Butane burns clean without imparting any flavors to your tobacco. Torch lighters provide a concentrated, wind-resistant flame that allows for precise control. Single, double, or triple-flame torches all work excellently—the choice depends on your cigar's ring gauge and personal preference. Cedar Spills: Traditional thin strips of Spanish cedar offer a completely natural, flavorless ignition source. These are often provided at cigar lounges and represent the most classical approach to lighting. Wooden Matches: Long wooden matches work well, but ensure you let the sulfur burn off completely before bringing the flame near your cigar—typically 2-3 seconds after striking. |
|
What to AvoidFluid Lighters (Zippos): Lighter fluid imparts a petroleum taste that can ruin the delicate flavors of premium tobacco. Candles: Unless they're specifically odorless, candles can transfer waxy or scented flavors to your cigar. Paper Matches: These burn too quickly and often contain chemicals that affect taste. Standard Butane Lighters: While acceptable in a pinch, soft-flame lighters struggle in windy conditions and provide less control than torch lighters. |
|
The Cutting CeremonyBefore lighting, you must properly cut your cigar. Using a quality cutter, remove just enough of the cap to open the cigar—typically 1/16 to 1/8 inch. A clean cut ensures proper draw and prevents the wrapper from unraveling during smoking. |
|
The Step-by-Step Lighting ProcessStep 1: Inspect and PrepareExamine the foot of your cigar. Ensure it's not damaged and that all the tobacco is visible and accessible. Remove any cellophane wrapper if present. Step 2: The ToastThis is the most critical step that many newcomers skip. Hold the cigar at a 45-degree angle, about 2-3 inches above the flame (not in it). Slowly rotate the cigar, allowing the heat to gently char the foot evenly. You'll see the edges begin to blacken and glow. The toasting process should take 15-30 seconds. The goal is to create a thin, even layer of charred tobacco across the entire foot. This prepares the cigar for an even burn and prevents tunneling or canoeing later. Step 3: The First PuffOnce the foot is evenly toasted, place the cigar in your mouth. Hold the flame close to (but not touching) the foot while taking slow, gentle puffs. Imagine you're sipping hot tea rather than inhaling. Each puff should last about 2-3 seconds. Continue this process while slowly rotating the cigar, ensuring all edges receive equal heat. After 3-5 gentle puffs, you should see smoke beginning to flow freely. Step 4: Verify the LightRemove the cigar from your mouth and gently blow on the foot. You should see a bright, even cherry (the glowing ember) across the entire surface. If you notice dark spots or uneven glowing, repeat the lighting process on those areas. Step 5: Final CheckTake one more gentle puff and examine the smoke. It should be cool, smooth, and abundant. If the draw feels tight or the smoke is harsh, you may have lit too aggressively. |
|
Common Lighting Mistakes to AvoidRushing the Process: Lighting a cigar properly takes 45-90 seconds. Hurrying results in uneven burns and harsh flavors. Holding the Flame Too Close: Direct contact with the flame can scorch the tobacco and create bitter tastes. Keep the flame 1-2 inches from the foot. Puffing Too Hard: Aggressive puffing overheats the tobacco, creating harsh, acrid smoke. Gentle sips are key. Forgetting to Toast: Skipping straight to puffing often causes tunneling, where the center burns faster than the outside. Lighting in Wind: If possible, find a sheltered spot. Wind makes even lighting nearly impossible. |
|
Troubleshooting Lighting IssuesUneven Burn (Canoeing): If one side burns faster, hold the cigar so the slower side is angled downward and apply gentle additional heat to that area while puffing. Tunneling: If the center burns too fast, the initial lighting was likely too aggressive. You may need to purge the cigar (blow through it gently to clear hot smoke) and touch up the outer edges. Tight Draw: If your cigar seems plugged after cutting and lighting, you may need to cut slightly deeper or use a draw tool to improve airflow. |
|
The RelightIf your cigar goes out (which is perfectly normal during a long smoking session), don't worry. First, gently tap off any loose ash. Then, blow through the cigar to clear any stale smoke. Finally, repeat the toasting and lighting process, being extra gentle to avoid overheating the already-smoked tobacco. |
|
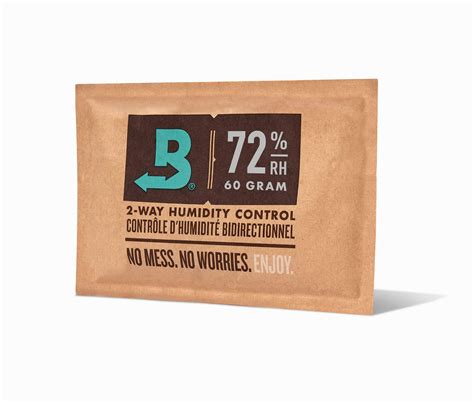
Environmental ConsiderationsTemperature: Cold weather can make lighting more challenging. In winter conditions, you may need to toast longer and ensure the cigar is brought to room temperature before lighting. Humidity: Cigars stored at proper humidity (65-72%) light more easily than dry cigars. An over-humidified cigar may require more time to toast and establish a proper light. Altitude: At higher elevations, cigars tend to burn faster and hotter. Adjust by taking slower, less frequent puffs. |
|
The Final TouchOnce properly lit, a well-made cigar should maintain its burn with minimal intervention. Take slow puffs every 30-60 seconds, and let the cigar rest between draws. This rhythm prevents overheating and allows the complex flavors to fully develop. |
|
ConclusionLighting a cigar properly is a skill that improves with practice. While it may seem elaborate at first, the process soon becomes second nature. The investment of time and attention during those first crucial moments pays dividends throughout your smoking experience, ensuring that every premium cigar delivers the flavor profile and smooth draw that the master blender intended. Remember: patience, gentle heat, and even toasting are your keys to perfect ignition every time. Whether you're enjoying a quick robusto or settling in with a double corona, the ritual of proper lighting connects you to centuries of tobacco tradition. Take your time, savor the process, and let each cigar begin its journey with the care and respect it deserves. Enjoy your cigars responsibly. This guide is intended for adults of legal smoking age. |
|
Beginner
Beginner Guides
0 views
The Art of Lighting a Cigar: A Complete Guide to Perfect Ignition
Mastering the proper technique for lighting a cigar is essential for any aficionado. From selecting the right tools to achieving an even burn, this comprehensive guide walks you through each critical step to ensure your premium cigars deliver the perfect smoking experience every time.
By exodus |
1 min read
October 4, 2025
(Updated: Oct 4, 2025)
(Updated: Oct 4, 2025)

Related Articles
The Complete History of Cigars: From Ancient Ritu…
Oct 04, 2025 • 26 min read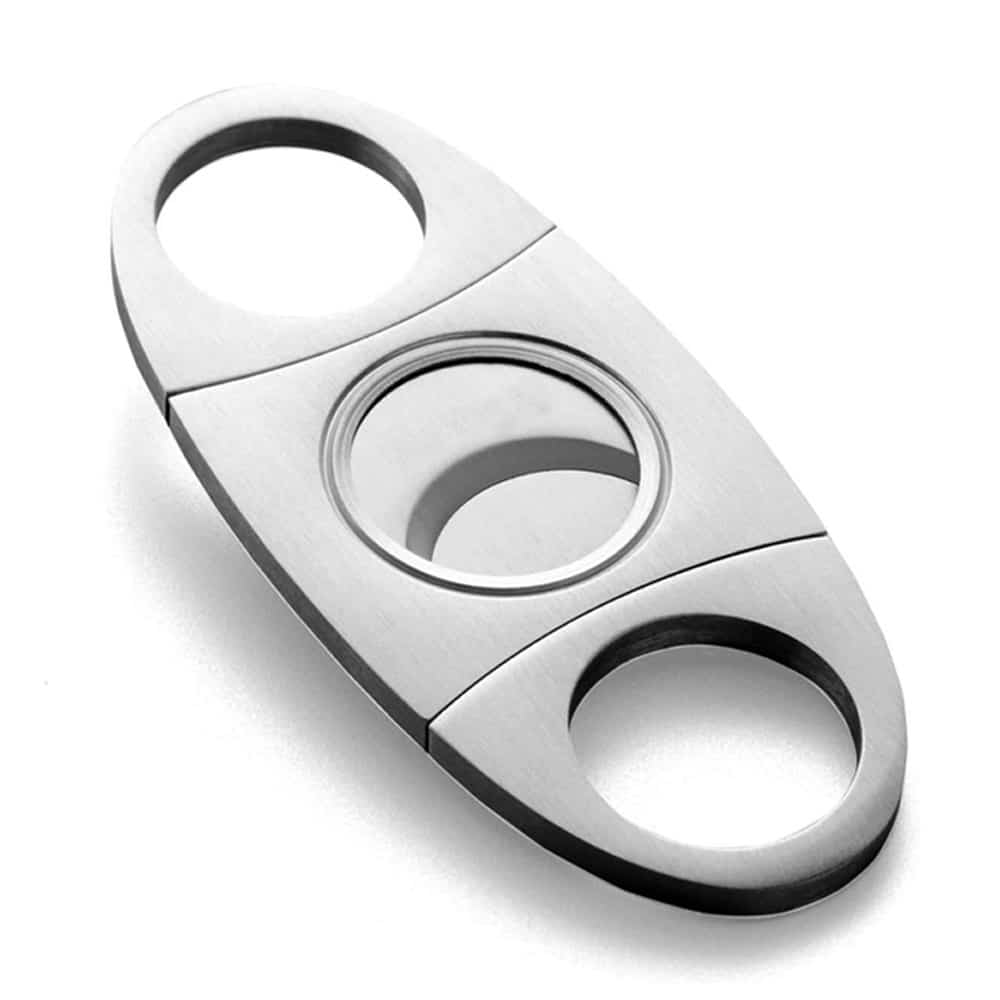
How to Cut a Cigar: Complete Guide to Cutters and…
Oct 04, 2025 • 21 min read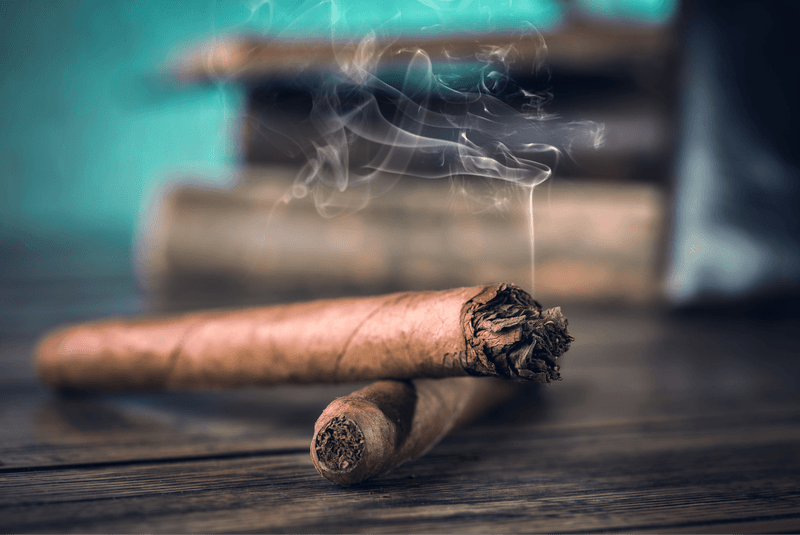
How to Fix an Over-Humidified Cigar: Recovery Ste…
Oct 04, 2025 • 14 min readShare Article
Recent Articles
The Complete History of Cigars: From An…
Oct 04 • 26 min
How to Cut a Cigar: Complete Guide to C…
Oct 04 • 21 min
Best Budget Humidors Under $100: Qualit…
Oct 04 • 20 min
How to Fix an Over-Humidified Cigar: Re…
Oct 04 • 14 min